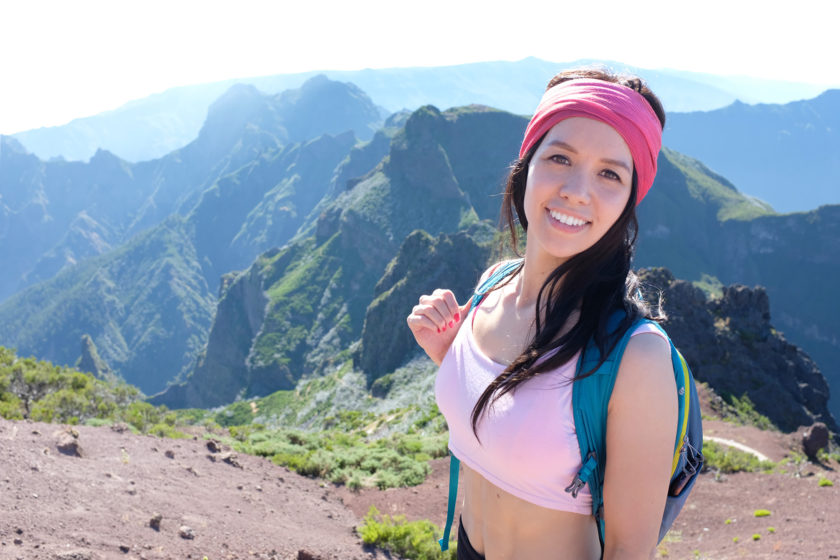
If there’s one hike that you should do in Madeira, make it this one. It connects the highest peaks on the island by an incredible network of narrow ledges, tunnels, and carved stone steps.
This hike from Pico do Arieiro (1817m) to Pico Ruivo (1862 m) is commonly known as PR1 or Vereda do Arieiro, and offers unparalleled vistas of towering mountains, deep valleys and the brilliant open-wide ocean.
PR1 hike: Route & distances
Starting point: Pico do Arieiro summit (easily reachable by car)
End point: Achada do Teixeira
Hiking distance: 7km one way (or there and back, totalling 14 km)
Level of difficulty: Moderate
Time required to hike: If you’re going one way it will take approx. 3.5 – 4 hours at a leisurely pace. If you’re beginning and ending in Pico do Arieiro it will take approximately 7 – 8 hours
Getting to Pico Do Arieiro
Initially, I assumed heading up Pico Ruivo would be an upward climb, but you actually begin at the peak of Pico Do Arieiro, the 3rd highest peak on Madeira.
If this sounds too easy for you, don’t worry – the trail goes up, down, through, and around a myriad of mountains so you’ll still achieve a satisfying burn that accompanies many great hikes. If anything, it’s more challenging due to the amount of times you have to go up and down !
To get there, either drive yourself or take a taxi to the car park at Pico do Arieiro. As you ascend up, one cool thing you should notice are the clouds that you pass by on the way up. My ears even popped as they do on a plane during take off to signify the steep altitude change.
Depending on the weather, it’s possible that you might even become completely engulfed by fog, in which case, drive carefully. It’s easy to understand why the PR1 hike is rightly touted as a walk above the clouds.
Highlights of PR1 hike in chronological order
Trail head to Ninho Da Manta (Buzzard's Nest)
Upon reaching first view point, Ninho da Manta (Buzzard’s Nest), I really began to count my blessings. The weather was optimal, with clear blue skies and the odd cloud that looked so gentle and wispy it appeared as though it were cotton candy.
In fact, with the sky being so blue, it was almost impossible to see where the ocean finished and the sky began at the horizon. Everywhere I looked, the views were astonishing, great monolithic rocks sprouting up from the lush, cavernous valley below.
The steep exposed ridge and craggy rock formations of Pedra Rija
Next up, you will soon come to perhaps the most famed and photographed parts of Pico do Arieiro because you will be literally walking on a ledge of the mountain.
However, it’s no way near as scary as it looks or sounds because there are railings on both sides, and it only lasts for a short distance. Well, unless you suffer from vertigo. If you do, I advice you not to look down!
In this area, there’s also a bizarre rock formation that gives the illusion that you’ve reached a summit that could only be found on Mars. On cloudier days, it gives the impression that you’re millions of miles up in the sky.
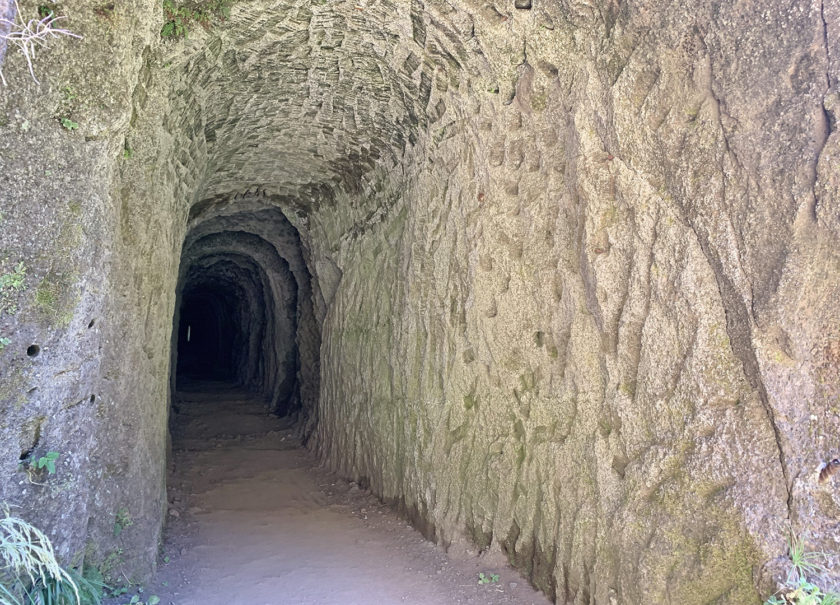
Hole in the wall & tunnel No. 1 of PR1 Vereda do Arieiro
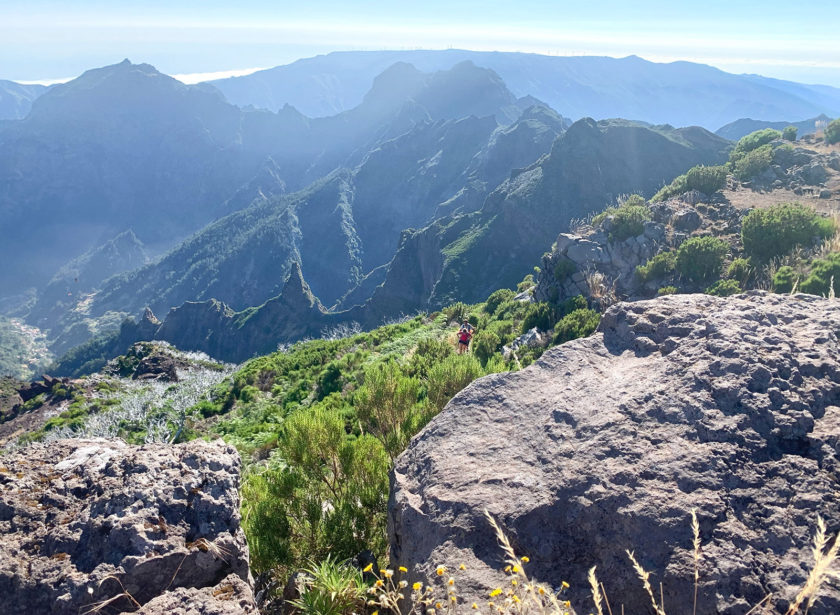
As you continue, the trail goes downhill for quite a while, passing inspiring scenery at every turn. Eventually, you will see a hole in the wall that leads to the other side of the mountain.
Shortly after you encounter the first tunnel of the hike! Some people came prepared for this with head lamps, but most of tunnels are relatively short so the light on your phone will do the trick.
It can get damp and boggy inside so be warned: wear decent footwear.
Mid-section of PR1 Pico do Arieiro hike - more tunnels!
It doesn’t take long until you reach the second tunnel, and at this point you will also see a sign pointing to Pico Ruivo with 3.4km left to go to the summit. Hurray!
Travelling through the tunnels (there’s five in total) and spotting cool nooks in the mountains made the kid in me feel like I was on the set of Indiana Jones. Sadly I was missing a fedora hat, and the SPF15 sunscreen probably wasn’t doing very much.
After the last tunnel the trail remains relatively easy and enjoyable as the area is filled with lots of wild flowers and beautiful views of the valley. However, buckle up kitty cats, things are about to get a lot harder. Up to this point, most of the hike had been either flat or downhill, so I guess it’s only fair that things get more strenuous from here.
Steep stairs – burn baby burn!
This will be the beginning of the steep climb across Pico das Torres by means of multiple steps carved in the mountain.
Yes, this is quite a work-out, definitely not a walk in the park. Furthermore, soon you will come to the most steep part of the Pico Do Arieiro Hike – almost vertical metal stairs, in fact calling them ladders would be a better description.
I stopped for a water break a few times along the way and ate some breakfast bars to top up my diminishing fuel reserve. The struggle pays off at the top once you can enjoy a glorious 360-degree panorama of the whole region.
Meadow-like beauty
From here, the trail continues on the other side of the mountain along an easy, scenic walk for a while.
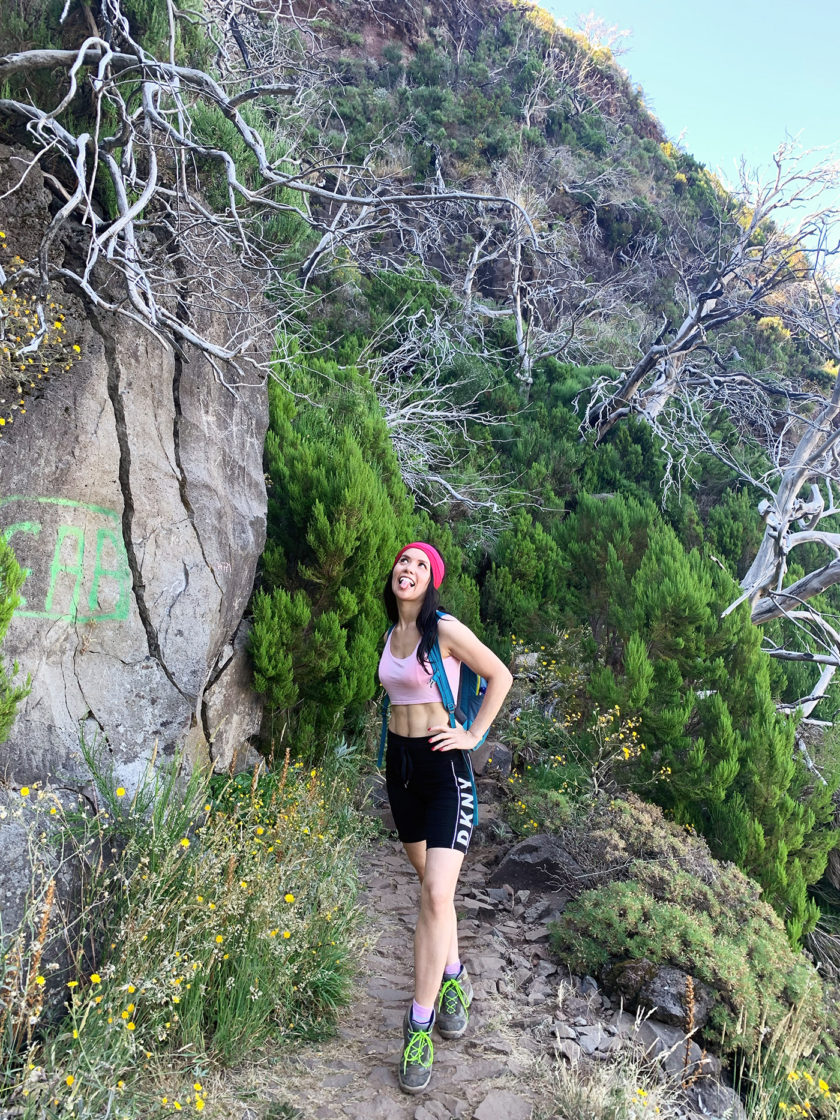
On this side, you’ll notice how the landscape changes quite dramatically too. Suddenly, the trail is full of silvery-white trees which, I think, indicate that they’re probably dead.
Strangely enough, these spindly trees look incredibly beautiful and cinematic, like a scene cut from a Tarkovsky film. Obviously, I wasn’t able to capture the mood on my camera, so here’s a photo of me during a bout of delirium instead.
As you continue to walk past the silvery-white trees, the trail starts to slope upward gradually. Thankfully, the air felt cooler, almost as though I was passing through a different micro-climate. It was strange seeing the dead trees while the rest of the vegetation was bursting with vibrancy, passing lots of small and delicate flowers, similar to what you’d find in a springtime meadow.
The last uphill stretch to Pico Ruivo
Finally, I reached the sign pointing to 3 different directions “PR 1.1 – Ilha”, “PR 1.2 – Achadas Teixeira” and “PR 1.3 – Encumeada ”. When you are at this sign you know that you are almost there….almost!
At this point of the hike you can also take a break at the public bathroom (costs 50 cents) or stop by at the Café for a quick refreshment before clambering up to the summit.
It’s only another 10-minute trudge uphill – easy peasy when you consider how much you’ve already done!
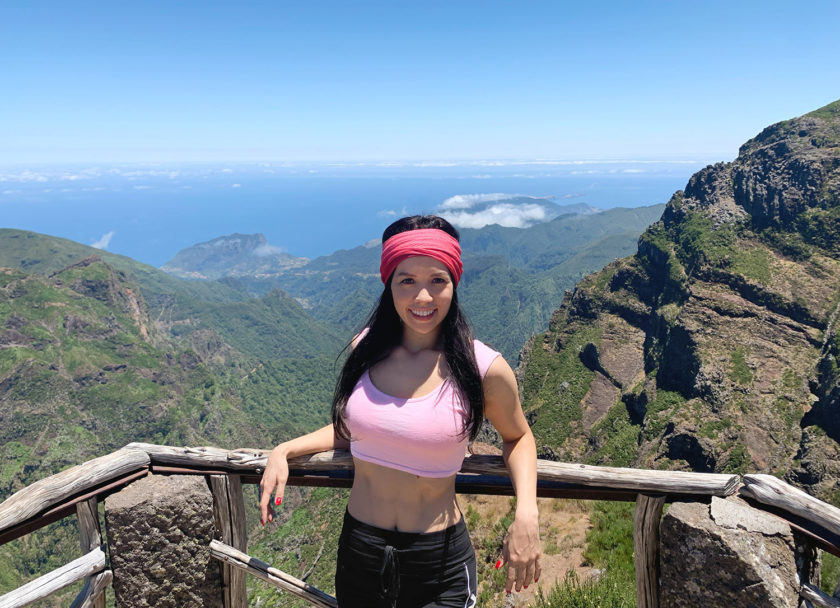
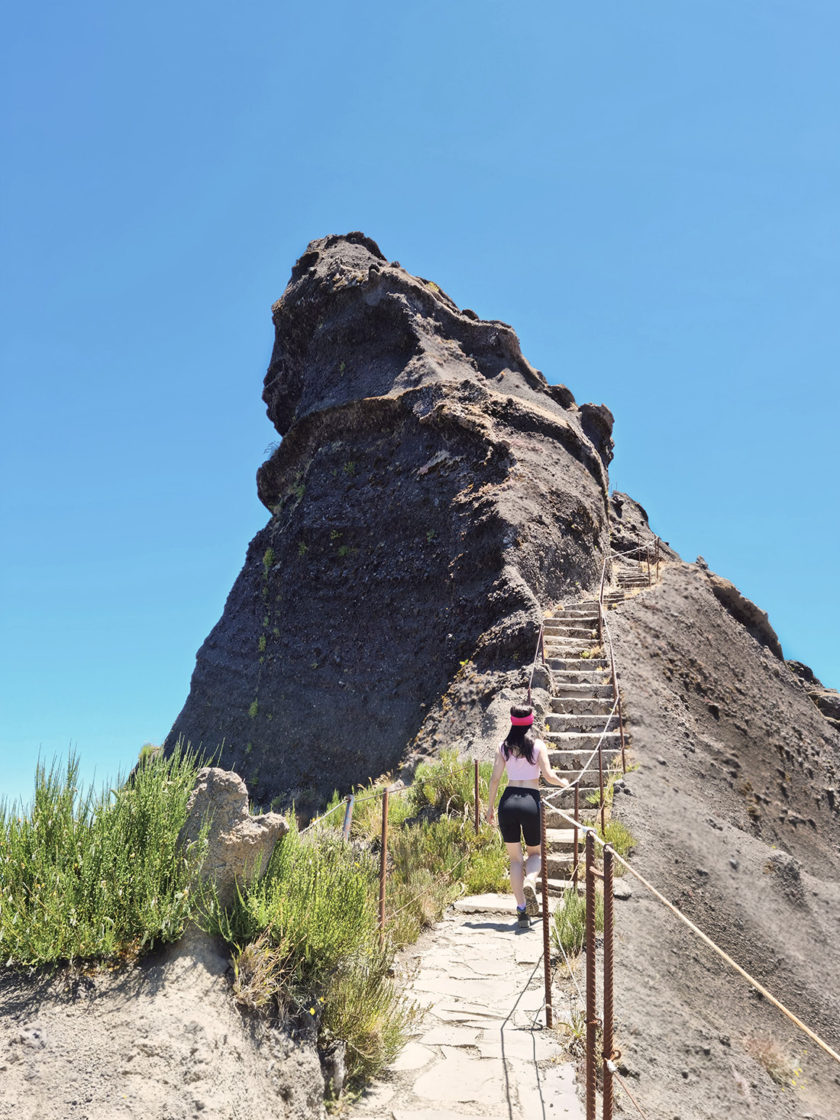
Arrival at the summit of Pico Ruivo
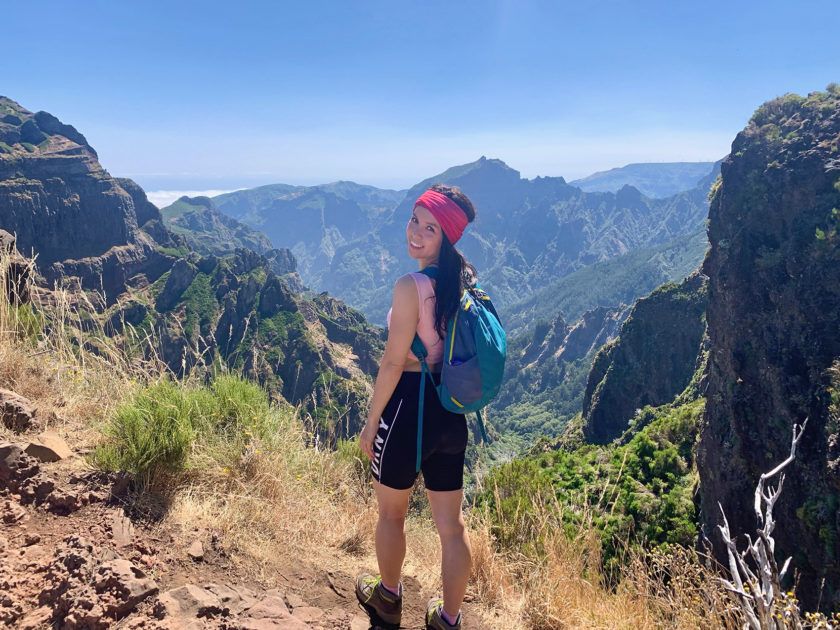
Once you reach the peak of Pico Ruivo you are greeted with a stunning 360-degree panoramic view across the whole island. Congratulations, you’ve made it!
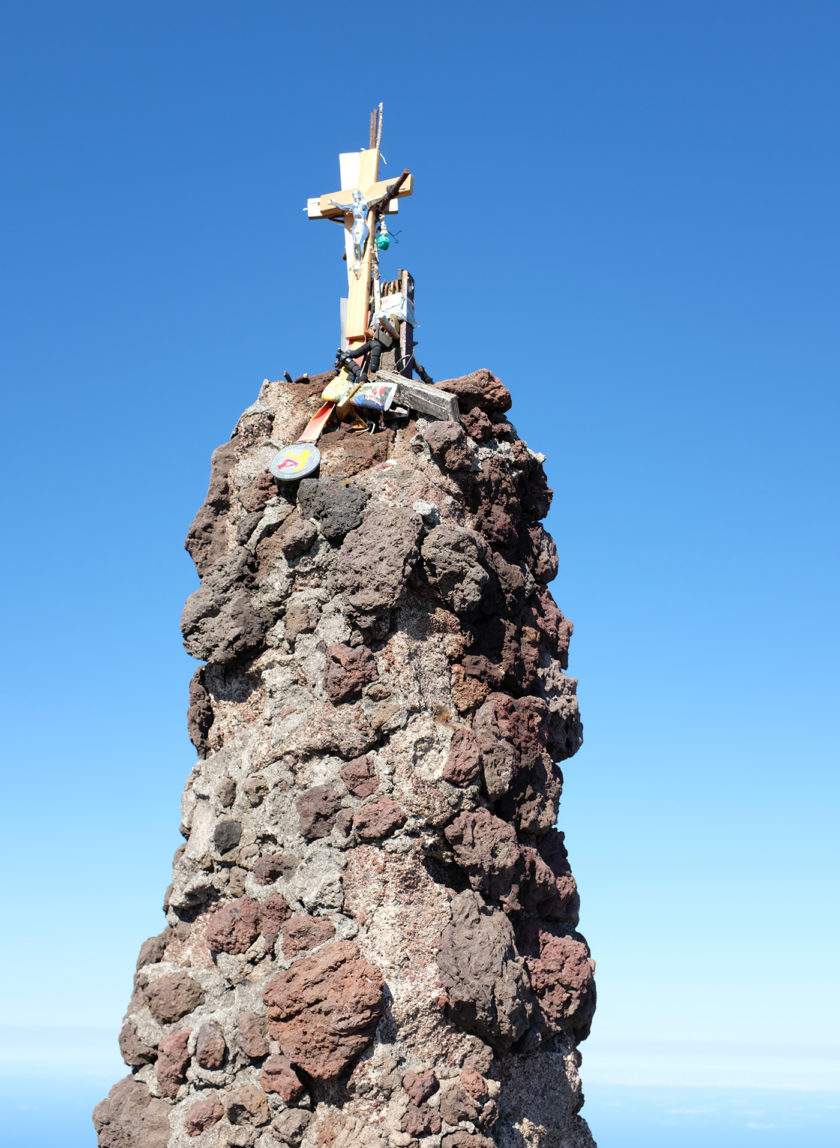
Like many summits, there’s a trig to signal the highest point. In this case it was a trig-like structure, presumedly created from volcanic rock.
I lucked out with the weather, the visibility was perfect, with a 360 panorama reaching out towards the sea.
Right, so now that you’ve reached the summit of Pico Ruivo, you’re probably wondering about the descent.
Do you go the way you came? Or is there a different route?
PR1 hike: one way or round trip?
One thing to note that although PR1 ends at Pico Ruivo, it’s not really the end of the hike if you are thinking about doing a one way hike. Pico Ruivo continues onto Acha dos Teixeira, where the other parking lot is located.
The portion between Pico Ruivo and Acha do Teixeira is actually another hike called PR1.2. It’s an easy walk and takes approximately an hour. The views overlooking the sea are breath-taking, so much so I really didn’t want the hike to end.
Annoyingly, there is no established public transportation in between the start and finish of the hike. Given this logistical inconvenience, most people end up hiking back to Pico do Arieiro from the peak of Pico Ruivo where they left the car, and they then do PR1.2 from Achada do Teixeira to Pico Ruivo as a separate hike.
We opted to take a taxi from Funchal, and to be honest, now that I’ve done the hike, I’m glad we just did it one way because there’s more uphill climbing on the way back.
I don’t think retracing my steps would’ve added much more to the overall experience apart from a whole lot more sweating. Plus, since we could do the finally part of the hike to Acha dos Teixeira, we didn’t need to go back to this part of the island and had time to do other things as well.
Tip: If you choose to hike one way like we did, it’s a good idea to book a taxi from the cafe that you pass before reaching Pico Ruivo. That way, it’ll be waiting for you when you finish.
Would I recommend the PR1 hike?
Absolutely! It’s without doubt, one of the most beautiful landscapes I’ve hiked across and I would recommend it to anyone in a heartbeat.
If you have any questions about this hike, leave a comment below and I’ll get back to you.
Where to stay in Madeira
The best place to stay in Madeira depends on your preferences, interests, and the type of experience you’re seeking. If you’re on the island for several days (I recommend a week or more if time allows), I suggest spending your time in two locations to see and experience different parts of the island.
As an example, I recommend staying inFunchal, the island’s capital city and from where you can explore the island’s Southern attractions; followed by somewhere in north of the island such as São Vicente, where the landscape is more rugged and wild.
These two locations compliment each other perfectly by their contrasts. They enable you to enjoy the cultural and gastronomic attractions of the city, followed by the charm and peacefulness of a small village atmosphere set within nature.